Creating an organization user
Credit unions can create organization users in Banno People.
Note: This functionality is not currently available to banks.
- In Banno People, select Users.
- Search for and select the organization you want to add a user to.
- Select Users.
- Select Create user.
- Enter the user's First name.
- Enter the user's Last name.
- Enter the user's Email.
-
Select the User role.
- User
- Viewer
- Admin
Refer to Role comparison for more information about organization user roles. - Select Create user.
-
Select Enable accounts.
You must give the user access to at least one account to create the user.
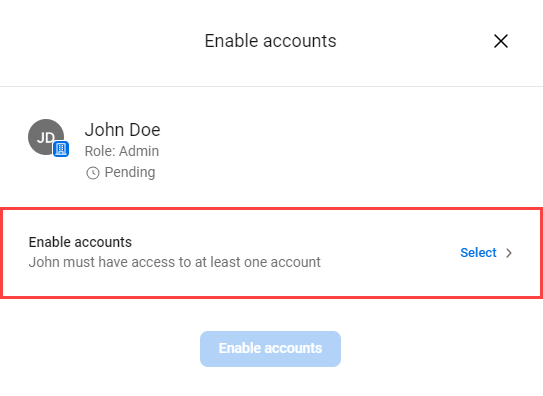 The Accounts window opens.
 - For each account, use the sliders to turn account access on or off.
- Select Done.
-
Select the Enable accounts button.
A message appears stating that you successfully created an account for the user.
-
Select a situation and follow the corresponding steps.
Situation Steps Sending email invites - Select Send email invite.
An email is sent to the user to invite them to create their user name and password to access Banno. You are redirected to the Users screen within the organization's profile.
Changing user permissions Default permissions are automatically assigned to new users. Select this option to change the user's permissions.
-
Select Go to profile.
The user's profile opens.
- Select Permissions.
- Under Organization user permissions, select View all.
- Use the toggles to edit permissions.
Selecting Done - Select Done.
The user is created, and you are redirected to the Users screen within the organization's profile.
Note: If you select Done, Banno does not send an invite email to the user. You can send an invite email from the user's profile.
Parent topic: Business for credit unions