Responding to conversations
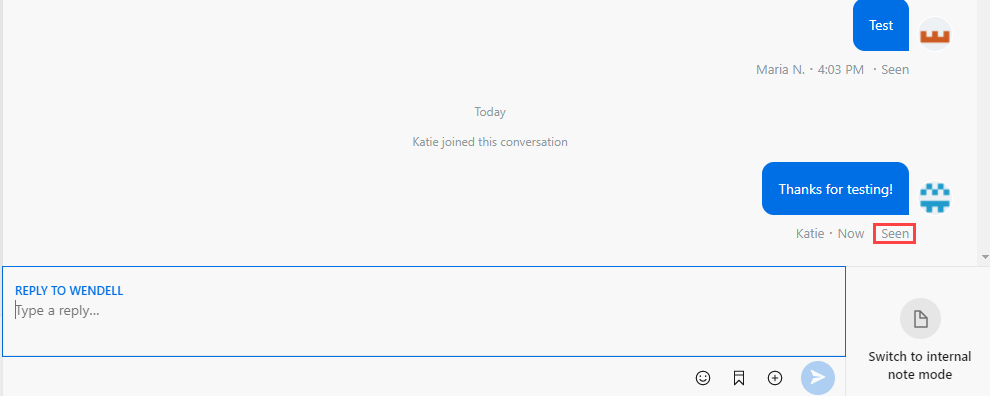
When a case is selected, you can use the reply input to respond to the conversation. From here, you can also attach files and images, search and select from a list of saved replies, and send internal notes.
-
To respond, choose a situation and follow the corresponding steps.
Situation Steps Send a simple text response. - Type a message in the Reply to [Name] field.
Send an emoji. - Select
 Insert emoji.
While typing, you can also type : in the text field with a search term for an emoji, such as Smile, to quickly access emojis from a pop-up menu.
- Choose the desired emoji.
- Include any other content in your message, if needed.
Send a transaction list as an attachment. - Select
 Attach something, and then select
  Transaction list.
 - Attach the list of transactions.
Send a payment list as an attachment. - Select
Attach something, and then select
 Payments list.
 - Attach the list of payments.
Send an account list as an attachment. - Select
Attach something.
- Select
 Accounts list to give the end user the ability to choose an
account from the list.
Accounts list to give the end user the ability to choose an
account from the list.
Send a message with an image or file. - Select
Attach something.
- Select
 Image or
file.
Image or
file. - Use the window that appears to select the file, and then select Open.
- Include any text in your message, if desired.
Send a form as an attachment. - Select
Attach something, and then select
 Form.
Form.
Send a message using a saved reply. - Select
 Insert a saved reply.
 - Select from the list of saved replies that appears or use the search to find additional replies.
- Select the desired reply to make it appear in the Reply to [Name] field.
Tip: At any time while responding to a case, you can create an internal-only note by selecting Switch to internal note mode, writing some text, and selecting Add note. -
Select
 Send.
Tip: You can also use the shortcut Command + Enter (for Mac®) or Ctrl + Enter (Windows®) to send a message or internal note.
Send.
Tip: You can also use the shortcut Command + Enter (for Mac®) or Ctrl + Enter (Windows®) to send a message or internal note.
Editing a message
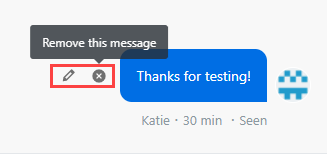
Banno Support allows you to delete attachments, and also edit and delete messages and internal notes after they have been sent.
-
Hover over the desired message to reveal a small menu with additional options.
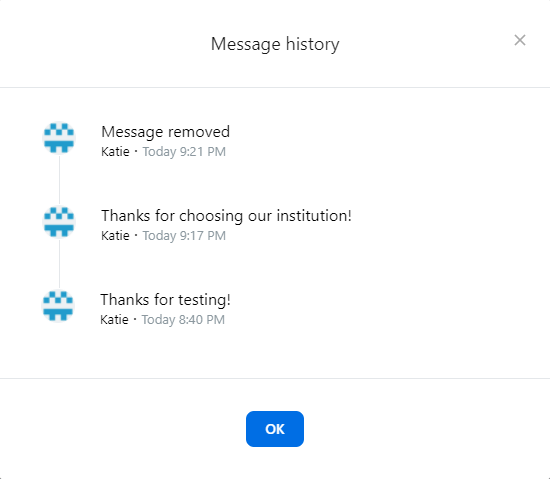
When a message is edited or removed, a notification appears in the conversation that shows which action has taken place. This message lets the end user know that a message has been altered or deleted.
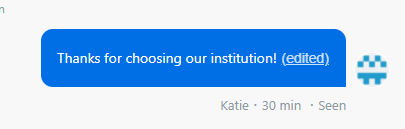
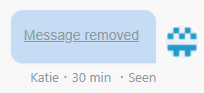
In Banno Support, selecting the hyperlinked edit or deletion notification presents a record of all changes made to the message in a Message history screen.